One of the most secure ways to remotely access your LAN is via a Virtual Private Network (VPN) connection. A VPN encrypts all of your network traffic from your device, until it reaches the LAN. This is especially useful when you are managing a server on that LAN, or wanting privacy when using public WiFi.
In order for a VPN connection to work, your must have an un-proxied “A Record” pointing to your network (acting as the public DNS). Otherwise, the VPN will fail.
PiVPN provides an easy setup for two types of VPN: WireGuard, and OpenVPN. WireGuard is one of the newest VPNs out there, and is extremely lightweight since it was written on only ~3000 lines of code. Since it is so lightweight, mobile devices benefit from this by using less battery when connected. Alternatively, OpenVPN is the industry standard. It has been around forever, and can be customized to your need. For this guide, I’m going to show you how to setup a WireGuard VPN.
Setup
Devices/ Applications Used
- Raspberry Pi
- PiVPN with WireGuard
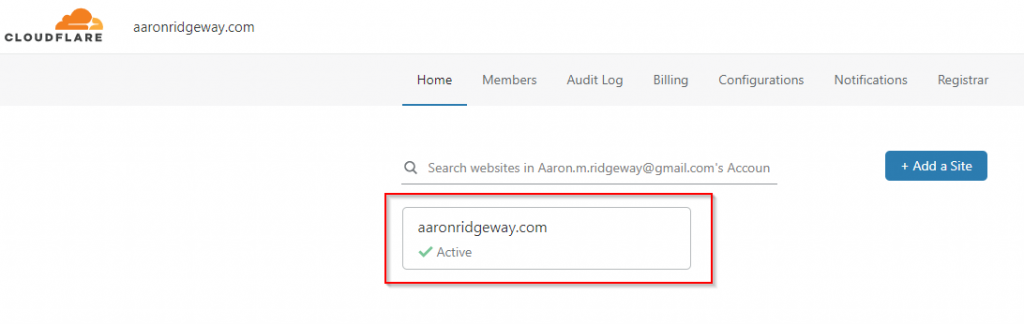
- Cloudflare
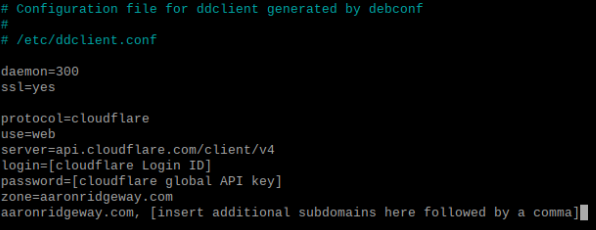
- DDClient (optional)
The Guide
- Update your device
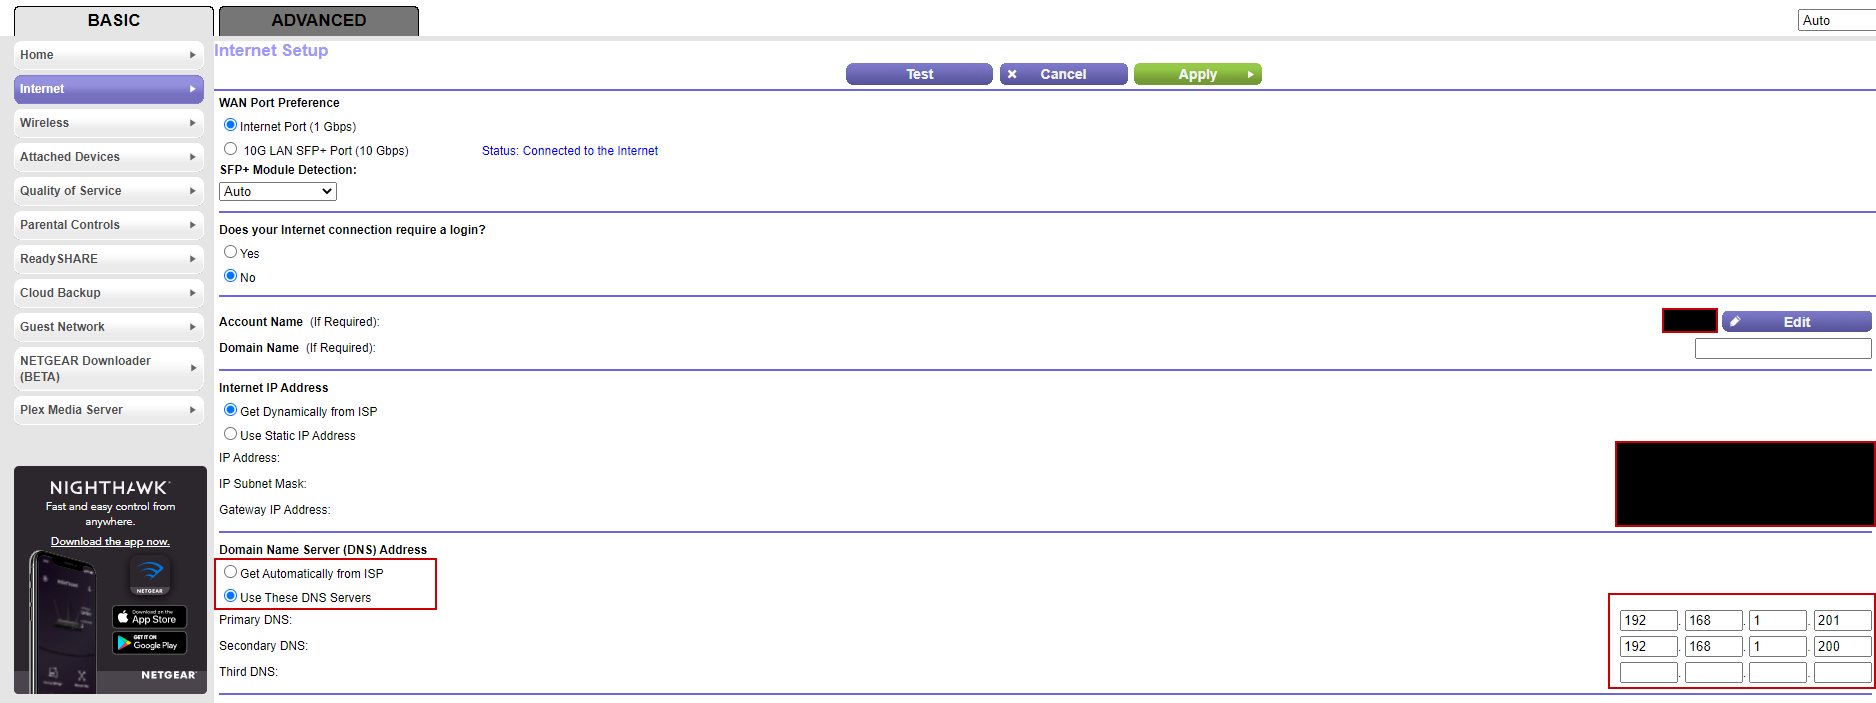
sudo apt-get update && sudo apt-get upgrade -y - Set a static IP address to your device.
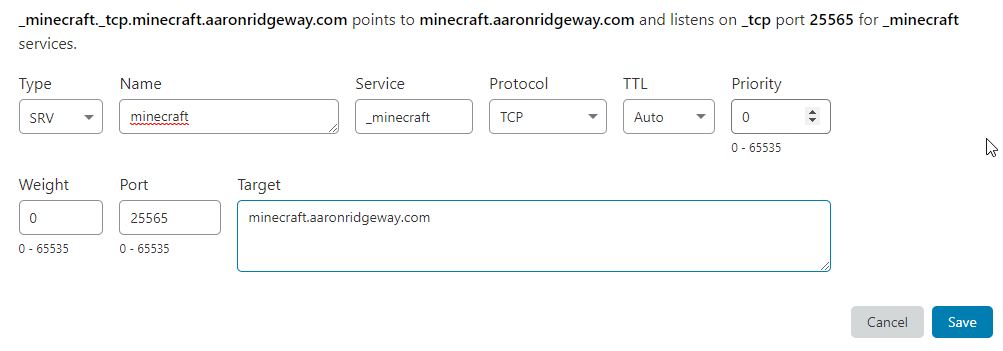
- Log onto your domain provider (Cloudflare), and create an “A record” that points to your domain. This record will serve as your public DNS to support the connection. For this guide, I will use test.aaronridgeway.com. In order for the DNS record to serve as a public DNS, you will need to ensure the proxy is turned off (DNS only).
- On your device download PiVPN
sudocurl -L https://install.pivpn.io | bash - When you get to the static IP question, select Yes if you’re using DHCP reservation, otherwise select No.
- Select a local user to hold your VPN configurations. (I recommend selecting a user other than pi.
- Select WireGuard as the VPN.
- Set the default port to 51820.
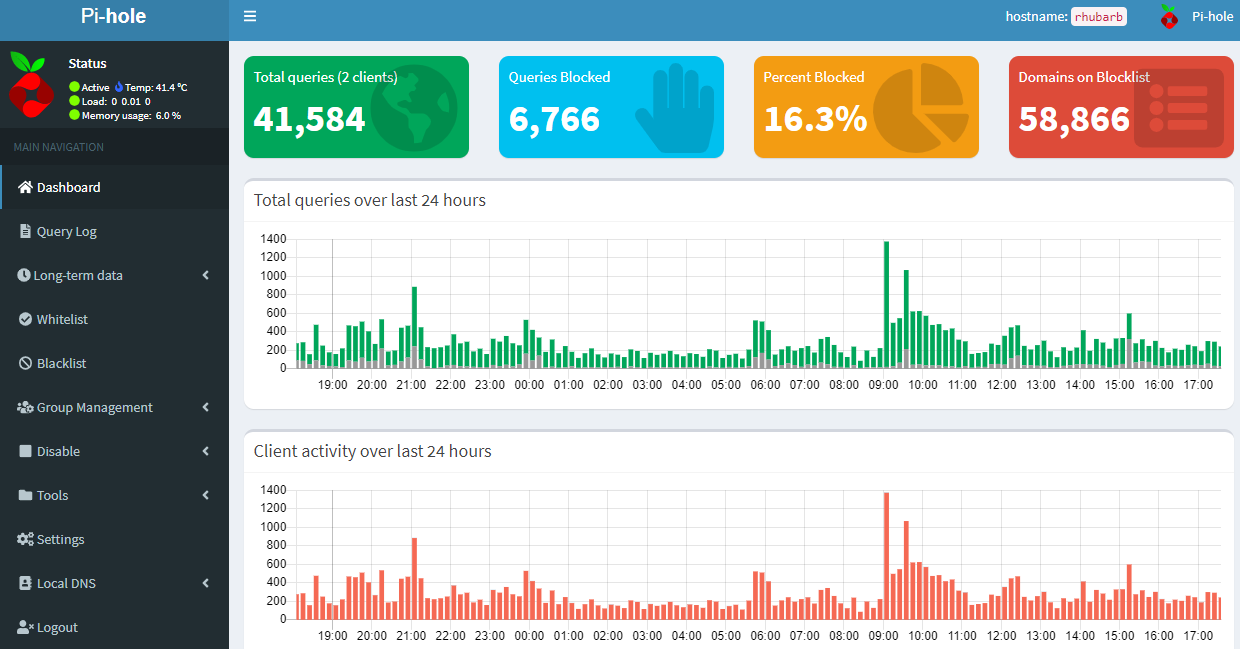
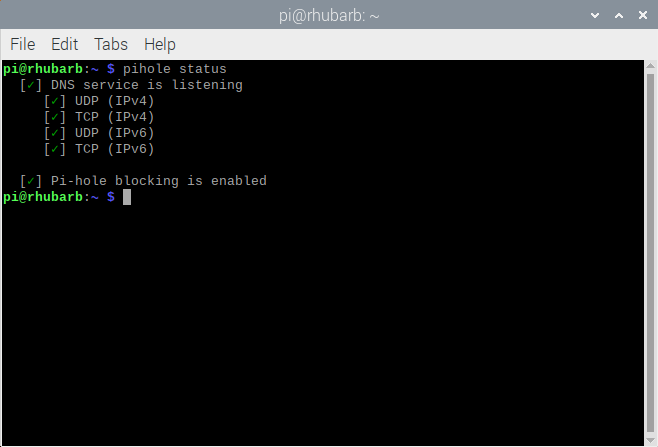
- If you have Pi-Hole installed, then you will get asked if you want to integrate with the application. Since I have it setup already, and love it, I will select Yes.
- Enter the public DNS that you created in step 3.
- Select Yes for the rest of the prompts and success! You have setup your very own VPN. Now let’s add some users.
Adding Users
- Type in
pivpn -ato add a new user. - Enter the name of the client you want to add. I include a name and device name to make managing configs easier.
- Add the .conf file, located in /home/[pivpn user]/configs, to the computer you want to connect from, via a WireGuard VPN client.
- For mobile devices, you can add the config file via a QR code by typing
pivpn -qrand selecting the user. You will need to download the WireGuard app to connect to the VPN.
Considerations
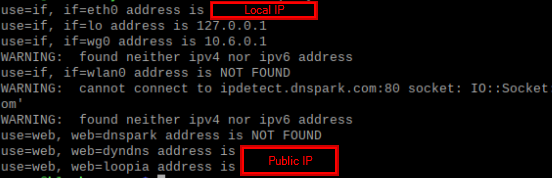
Your Public IP address will change over time. If you don’t have a static Public IP address, you will need to config a dynamic DNS (DDNS) to ensure the IP address stays accurate. Additionally, there are two types of VPN configurations to choose from: TAP and TUN. WireGuard VPN only offers a TUN configuration, whereas OpenVPN offers both a TAP and TUN. Lastly, the VPN connection will only be as fast as the Network Interface Card (NIC) you are using. If your device only has 10/100 Mbps, then the connection will be slower than 100 Mb/s.